Everything’s better with butter y’all….
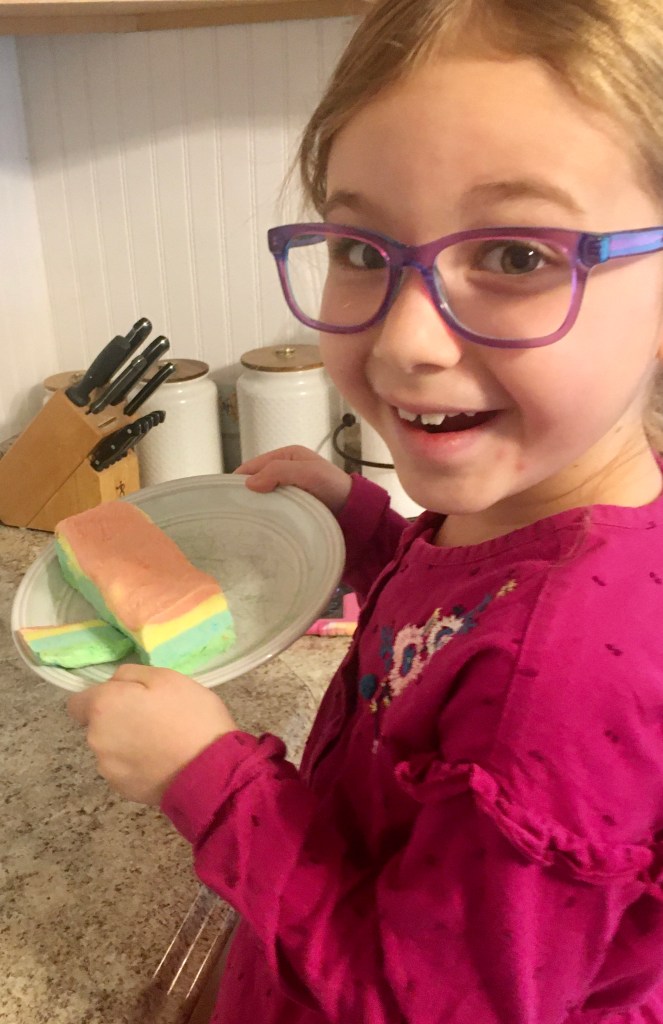
I am a firm believer that if a child helps you make food they will want to eat it more. Anyone else? I try to get P involved with cooking on a regular basis and she really loves it. We’re at the point that she can make homemade ranch 99% on her own including tasting and adding seasoning to taste. I say 99% because she will absolutely NOT touch mayo (insert my weekly eye roll).
For this cooking adventure we made homemade butter but I couldn’t stop there…we had to make it pretty. Naturally, that means a little girl will want to make it a rainbow. I mean, I wanted to make it rainbow as well because I like pretty things too! Here’s the really nice part about butter…YOU DON’T HAVE TO MEASURE ANYTHING! You heard it here! It’s the easiest recipe ever.
All you need is heavy cream, salt, and food coloring. We use a mixer to make ours but you can also shake the heck out of it in a mason jar. I’m lazy so I opt for the mixer. If you’re more into how to videos you can watch us make it HERE.
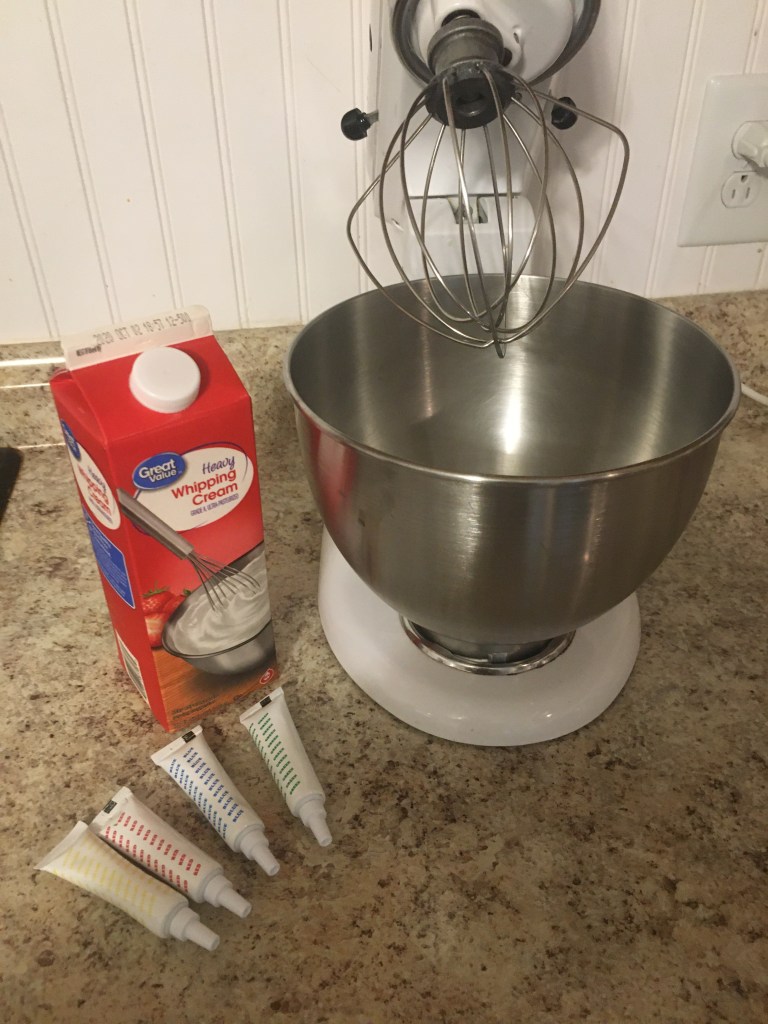
You may notice I used the whisk attachment…my dad (who is ridiculously smart) said a paddle attachment would be more authentic and possibly separate the buttermilk (left over liquid) from the butter. Your choice, folks. Alright, so here we go.
Ingredients:
Heavy Cream (I used approx. 4 cups)
Salt
Gel Food Coloring
Directions:
1) Pour in heavy cream…I used about a cup per color.
2) Start whisking on high.
3) Add a pinch of salt to taste and food coloring to your level of liking. I recommend using gel food coloring for a more vibrant color.
4) Whisk like heck. It will turn into whipped cream. Don’t stop there…keep whisking until the liquid separates from the solid. It will look like a mess (that’s how you know you’re there).
5) Use a fine mesh strainer to separate. You can save the liquid to make pancakes or biscuits!
6) Use your hands to shape the butter while squeezing out any further liquid.
7) Rinse with cold water then set in a bowl or container.
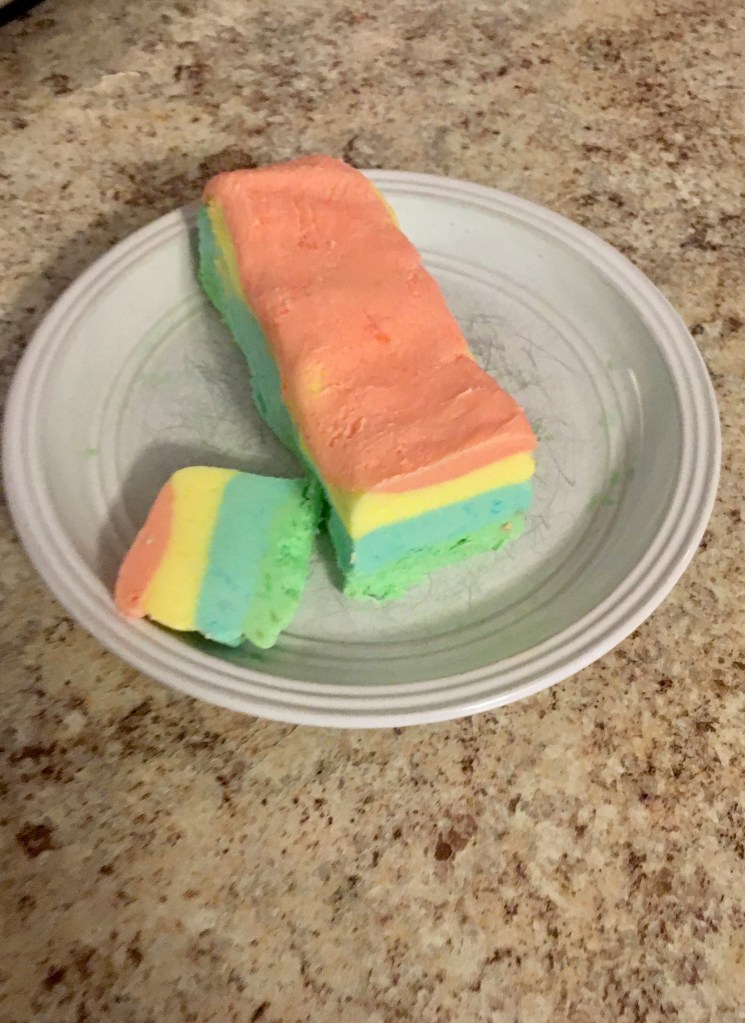
8) Repeat above steps for however many colors you are using. We used red, blue, yellow, and green.
9) Lay out a piece of cling wrap and spread the butter into a rectangle. Add the other colors one at a time on top of each other. Fold the wrap closed tightly and put in the fridge. Once the wrap is closed you can further shape it. Again, you can WATCH HOW TO MAKE RAINBOW BUTTER HERE.
10) Enjoy your beautiful, colorful, delicious butter on whatever your heart desires!
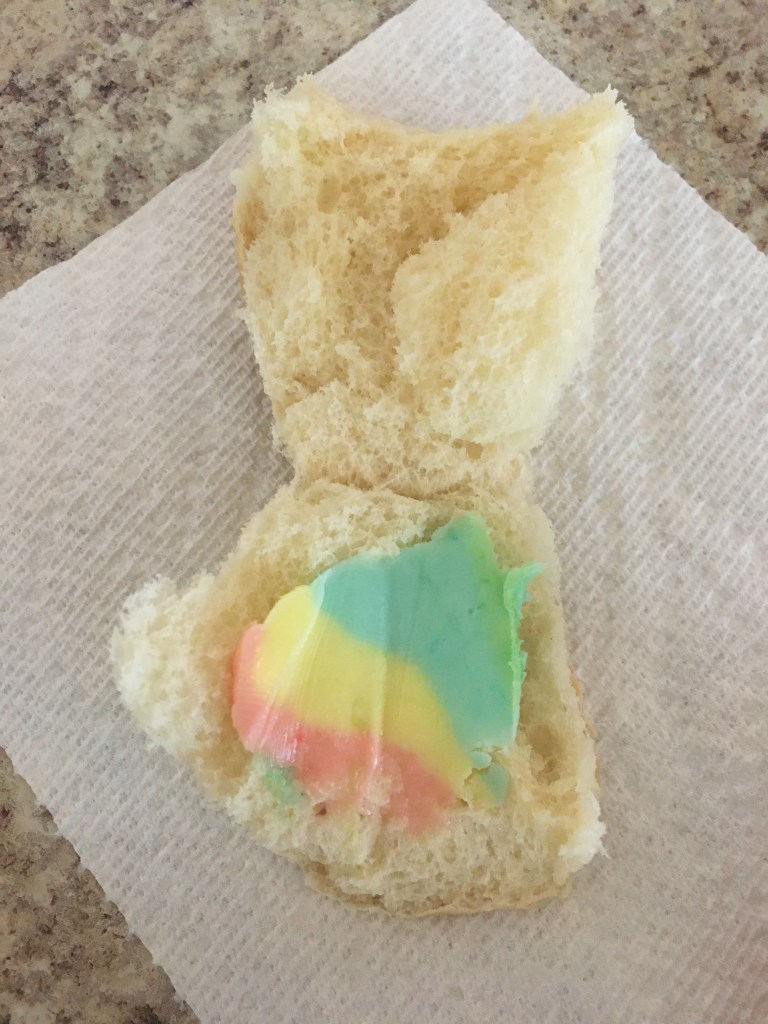
Here’s just a few tips. You can flavor your butter any way your heart desires. So, if you’re using it for pancakes, add some vanilla and sugar during the whipping process. Want it on a juicy steak? Add some garlic and fresh herbs. Flavored butter on biscuits? How about some apricot preserves mixed in?!?! I’m drooling!
