Buttermilk Biscuits And Run-On Sentences

“[Crisco] ain’t just for frying. You ever get a sticky something stuck in your hair,like gum?…That’s right, Crisco. Spread this on a baby’s bottom, you won’t even know what diaper rash is…shoot, I seen ladies rub it under they eyes and on they husband’s scaly feet…Clean the goo from a price tag, take the squeak out a door hinge. Lights get cut off, stick a wick in it and burn it like a candle….And after all that, it’ll still fry your chicken.” -The Help

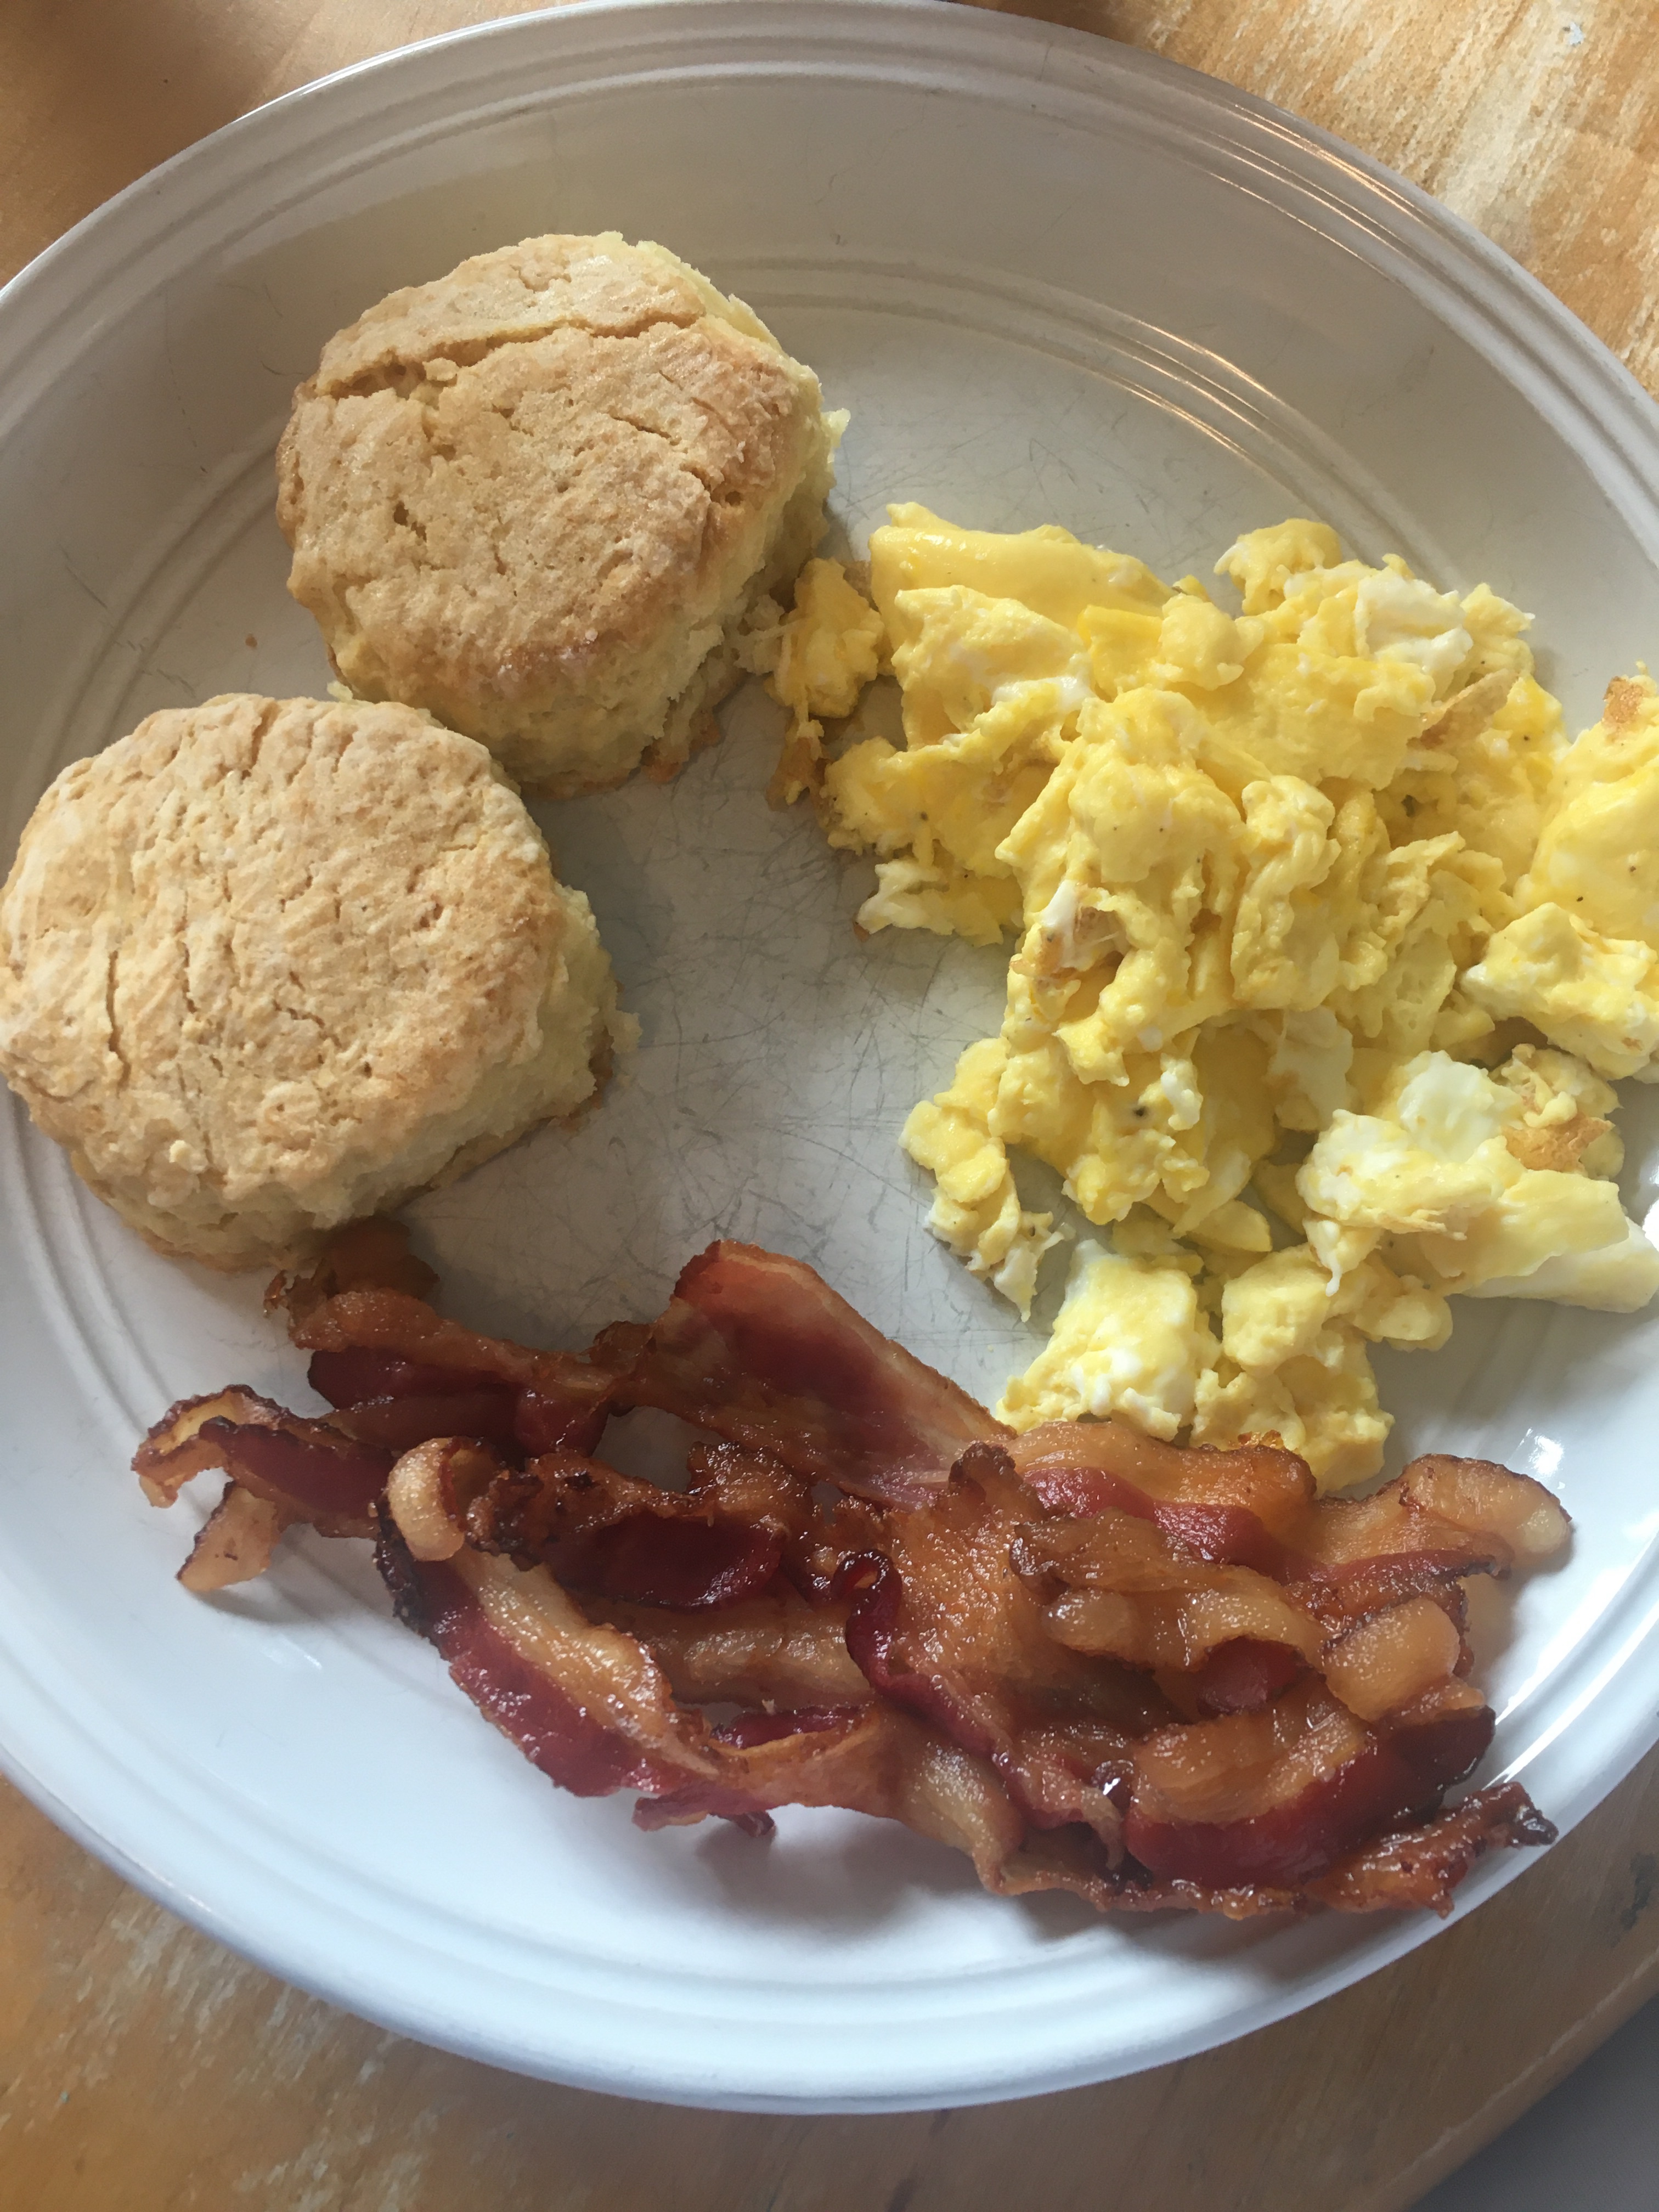
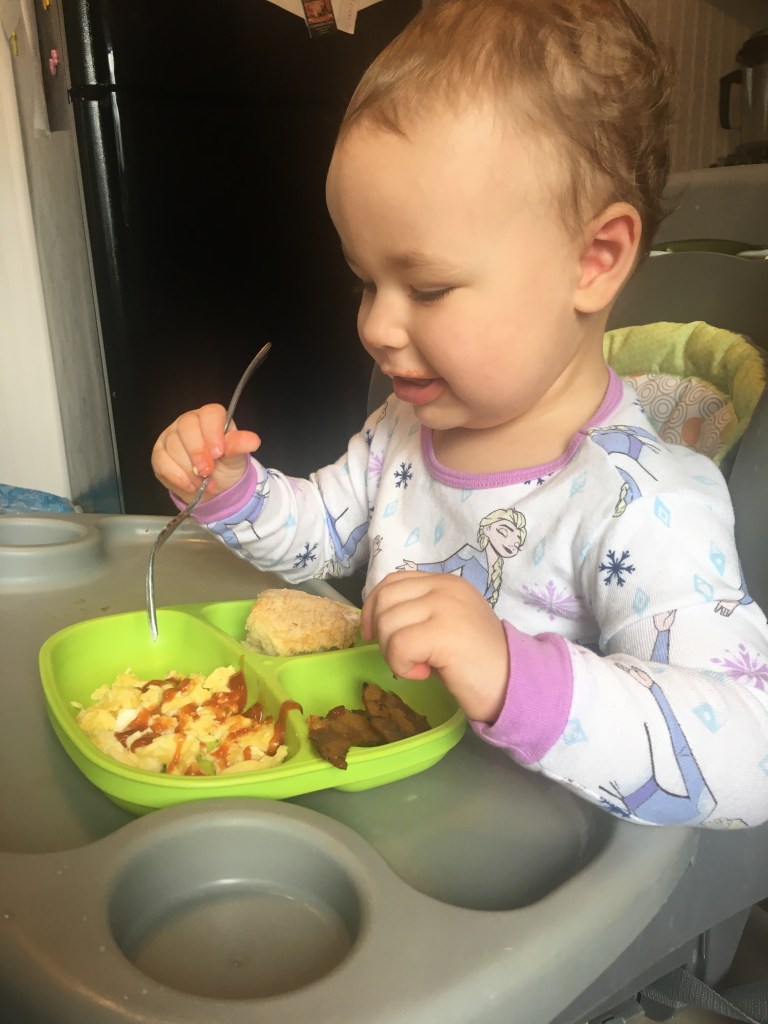
There’s nothing that crisco, cast iron, and love can’t cure so while I am navigating some challenging times in the loss of loved ones, adapting to the new way of teaching while having my awesome first grader with me, building a home, and so on, I will use the magic three to push me through. Now, that’s a good run on sentence! This week I put my stress and love into buttermilk biscuits while my husband played with P and LuLu.

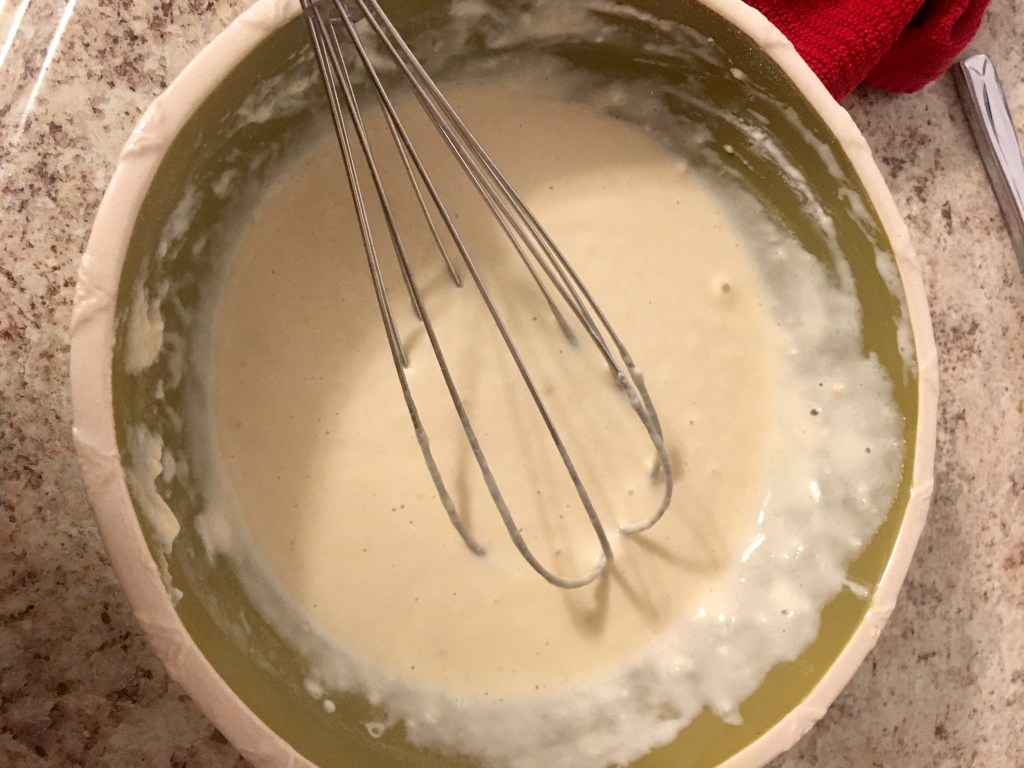
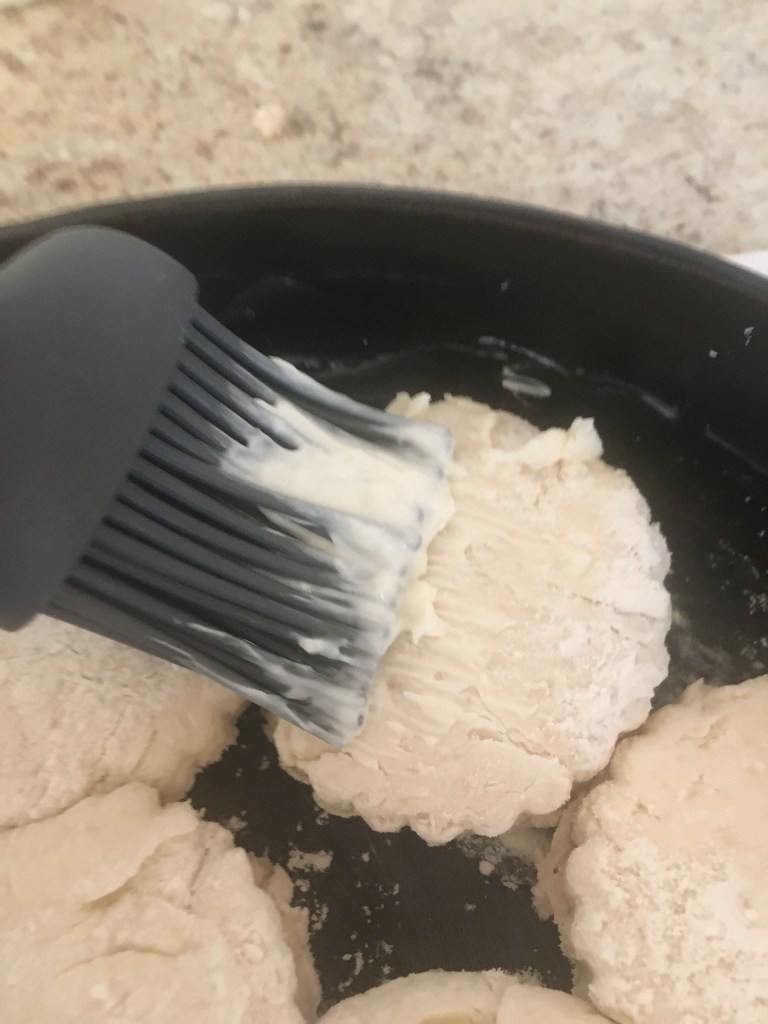
There’s many tips and tricks that make a good biscuit. From trial and error, learned knowledge, and passed on advice I’ve learned that you ALWAYS use cold butter, don’t overwork, and use a well seasoned cast iron skillet (well seasoned meaning used often, not actually seasoning just in case there’s cast iron newbies on here). I use my hands to mix but you can use a pastry cutter or food processor. I’m an old fashioned granny in this sense…hands are best. I like using crisco and butter…it gives great texture to the biscuits. I also put my crisco in the freezer as well. The colder the fat is, the more flaky your biscuits will be. Don’t forget to slather your cast iron with some crisco as well!

I’m a chronic Pinterest(aholic) so most of my ideas come from looking through other ideas, using my knowledge of past trial and error, and some experimentation. While looking through some recipes I came across several that used mayo. Yes, I said mayo. I decided, “ok, I’ll either puke or love it”. Spoiler alert, I love it. I only use it on the top. I use this same method on grilled cheese instead of butter. I said what I said and I shan’t repent!

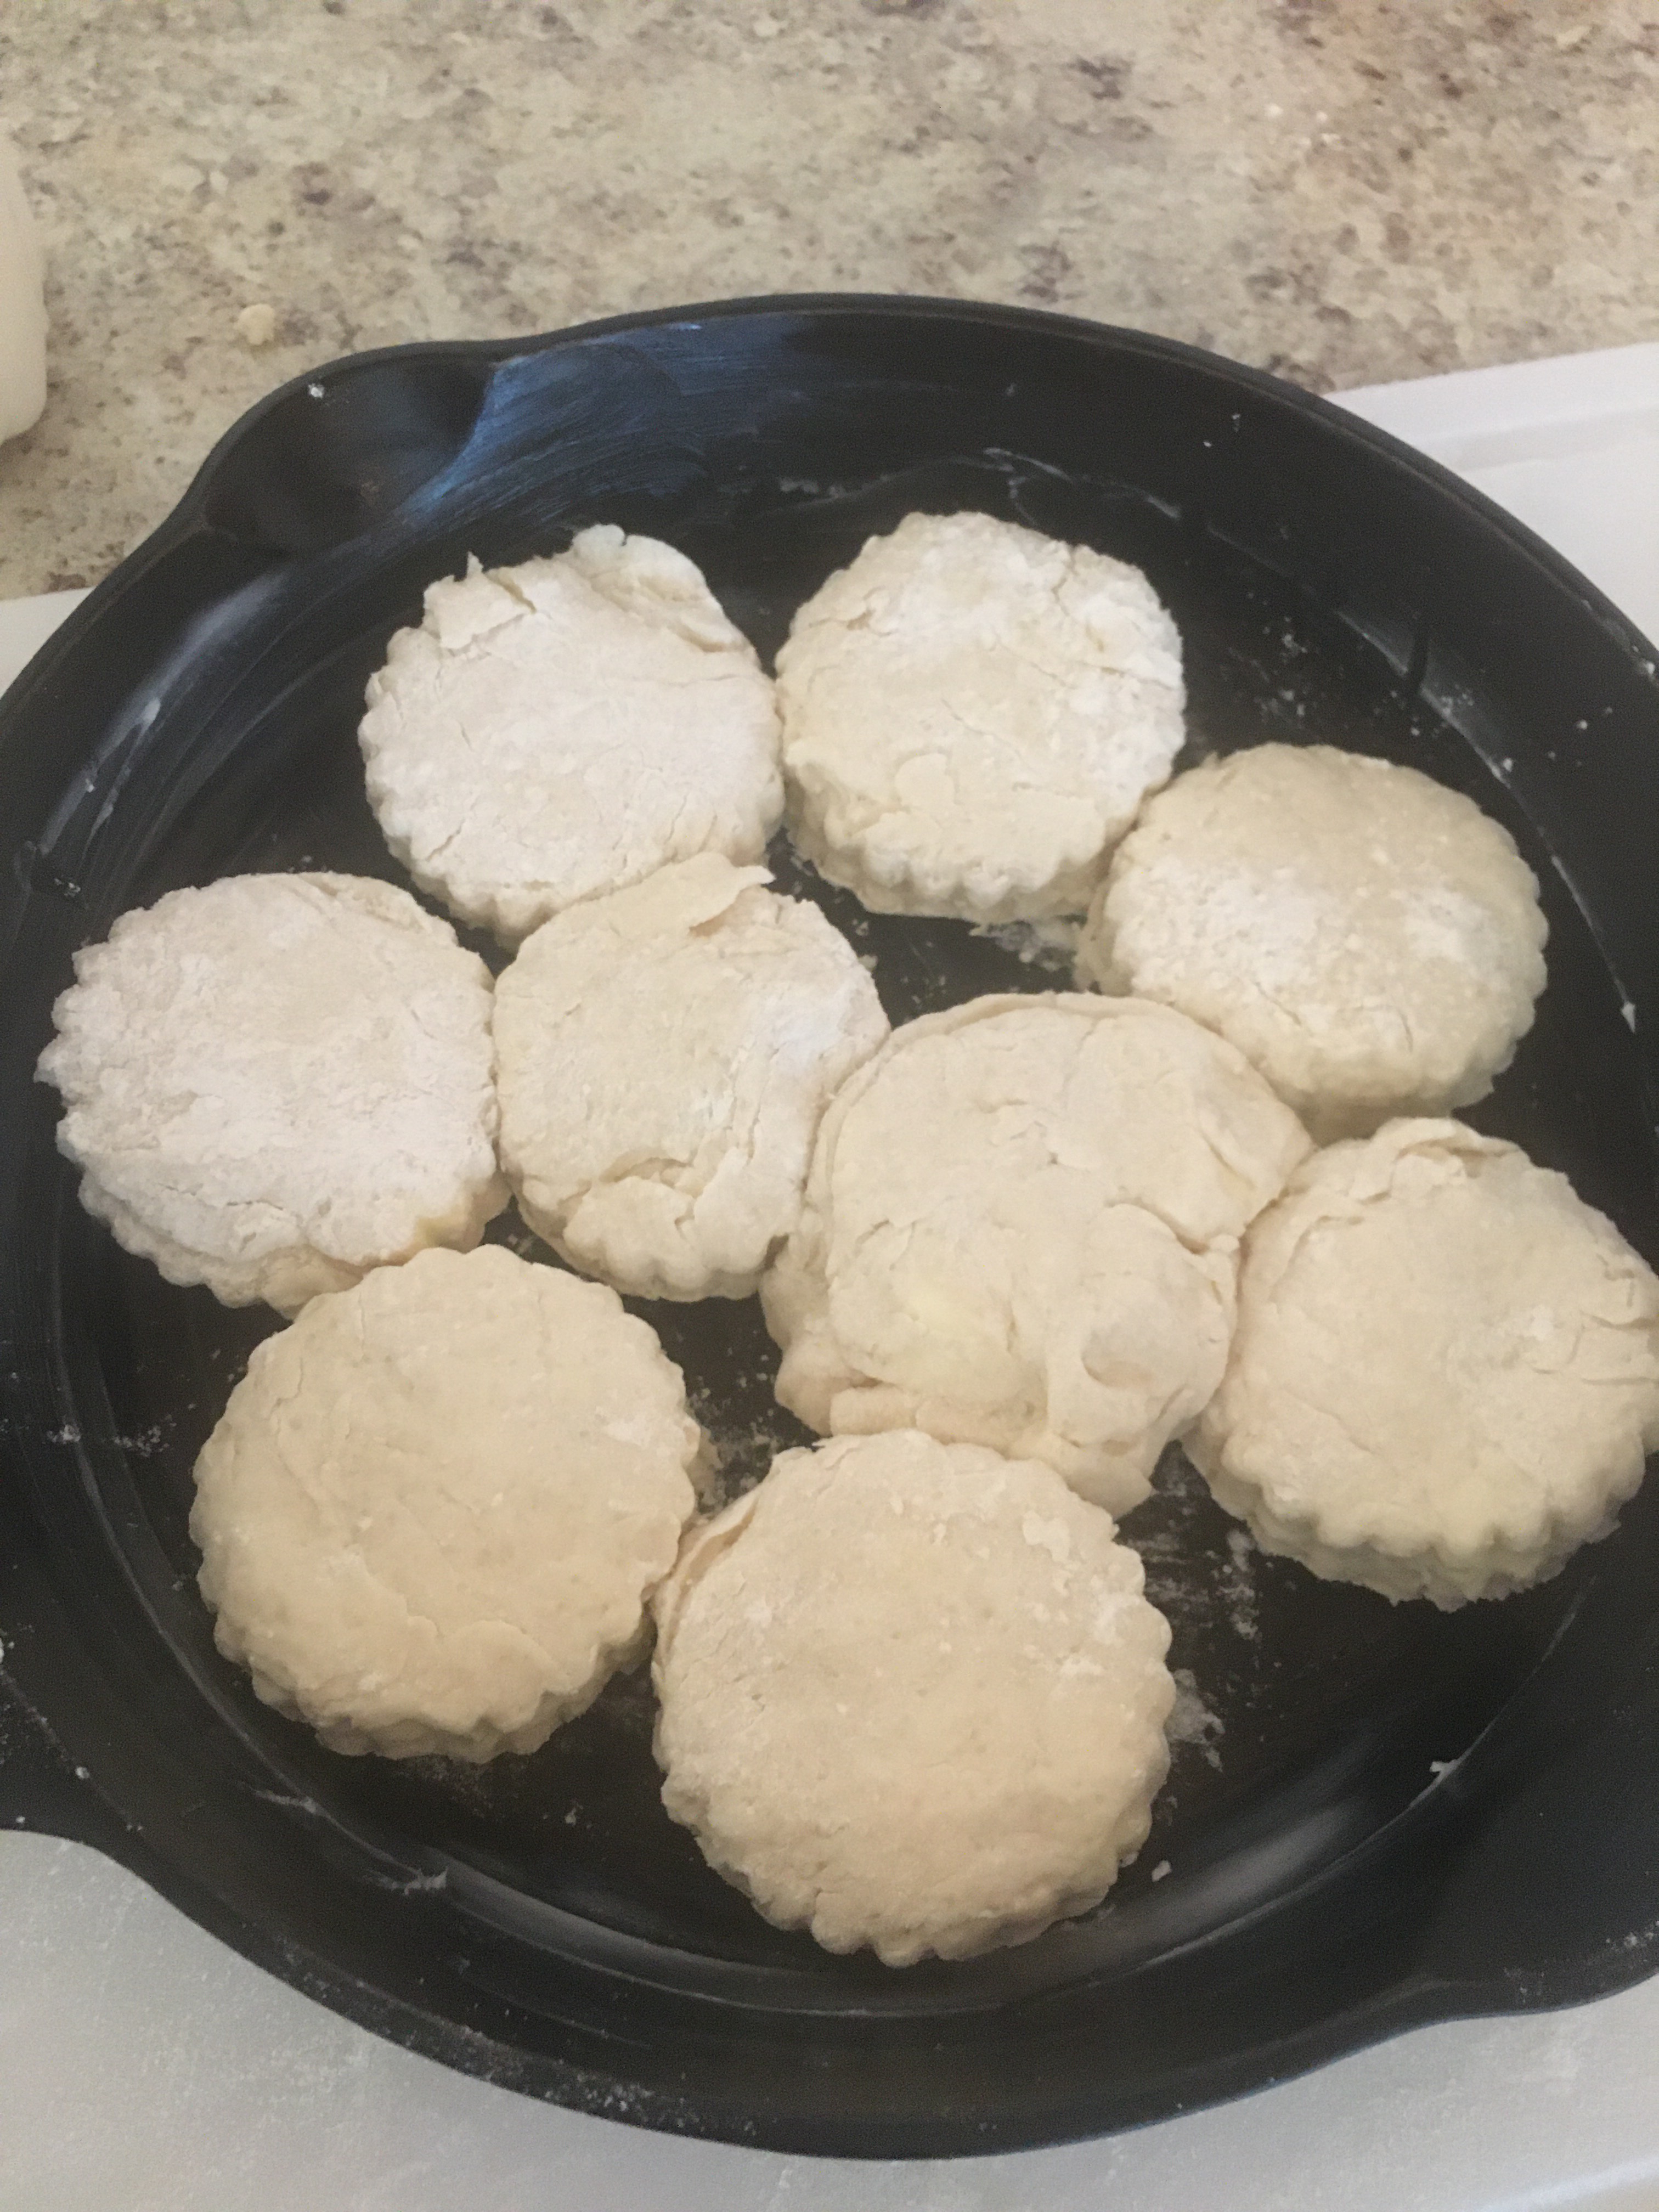
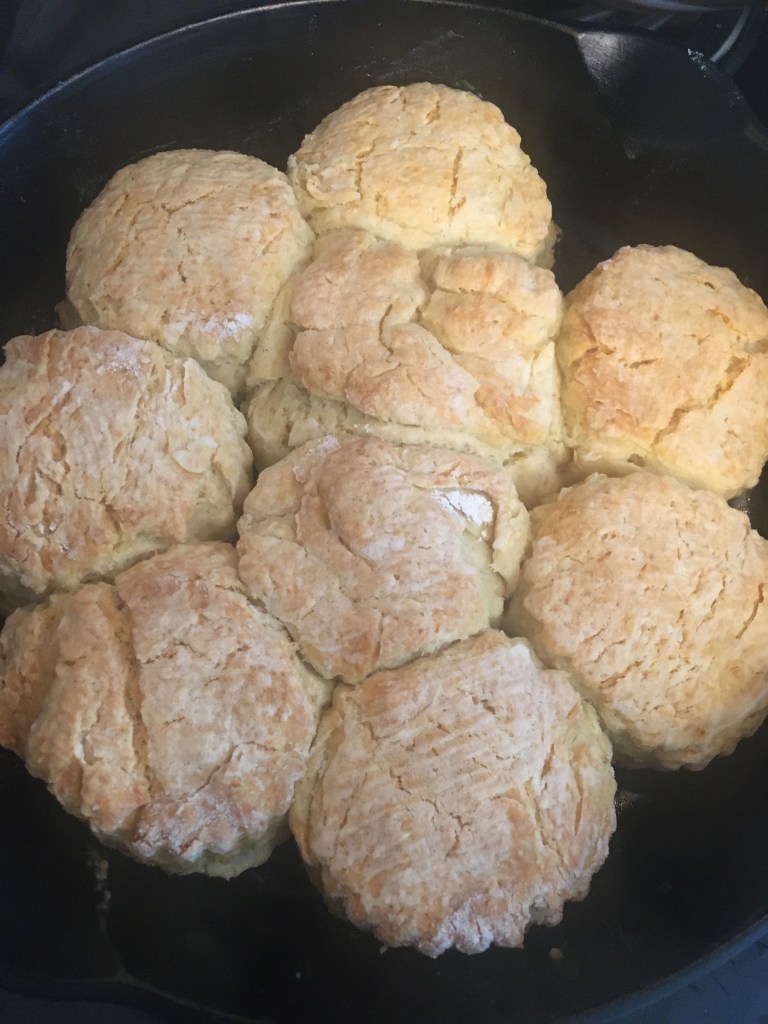
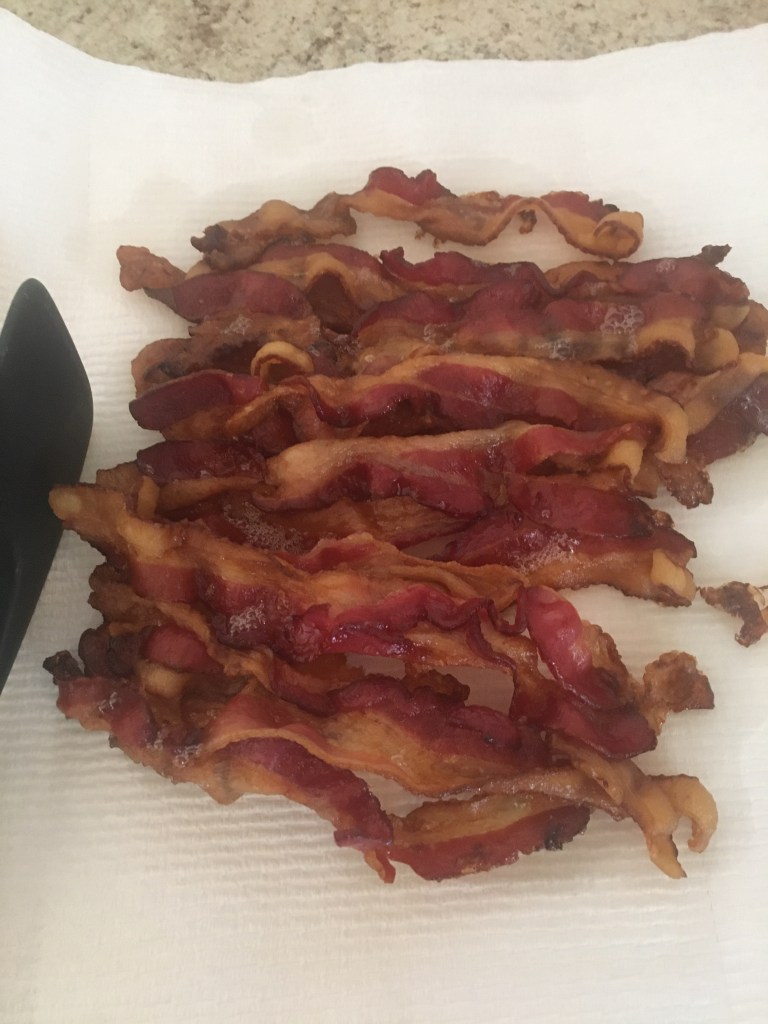
I use a biscuit cutter but you can use other items like the lid of a mason jar or the top of a glass. I also try and use every bit of biscuit dough so I end up with one really ugly last biscuit. You’ll notice the poor fellow in the middle. Bake at 365 degrees about 20 minutes or until golden brown. I like 365 degrees because it is also, what I believe, is the perfect temp to bake my bacon. Yes, I bake my bacon in the oven and it’s beautiful and crisp every time.

See?!?!

Buttermilk Biscuits

2 cups flour

1 tbsp sugar

3/4 tsp salt

2 tsp baking powder

1/2 tsp baking soda

1/4 cup chilled crisco plus more for greasing the pan

3 tbsp chilled and cubed butter

1 cup buttermilk

1 tbsp mayo for brushing top of biscuits

Directions:

1) Pre-heat your oven to 365 degrees.

2) Chill butter and crisco in freezer (if you can do this before you start, it’s a good idea).

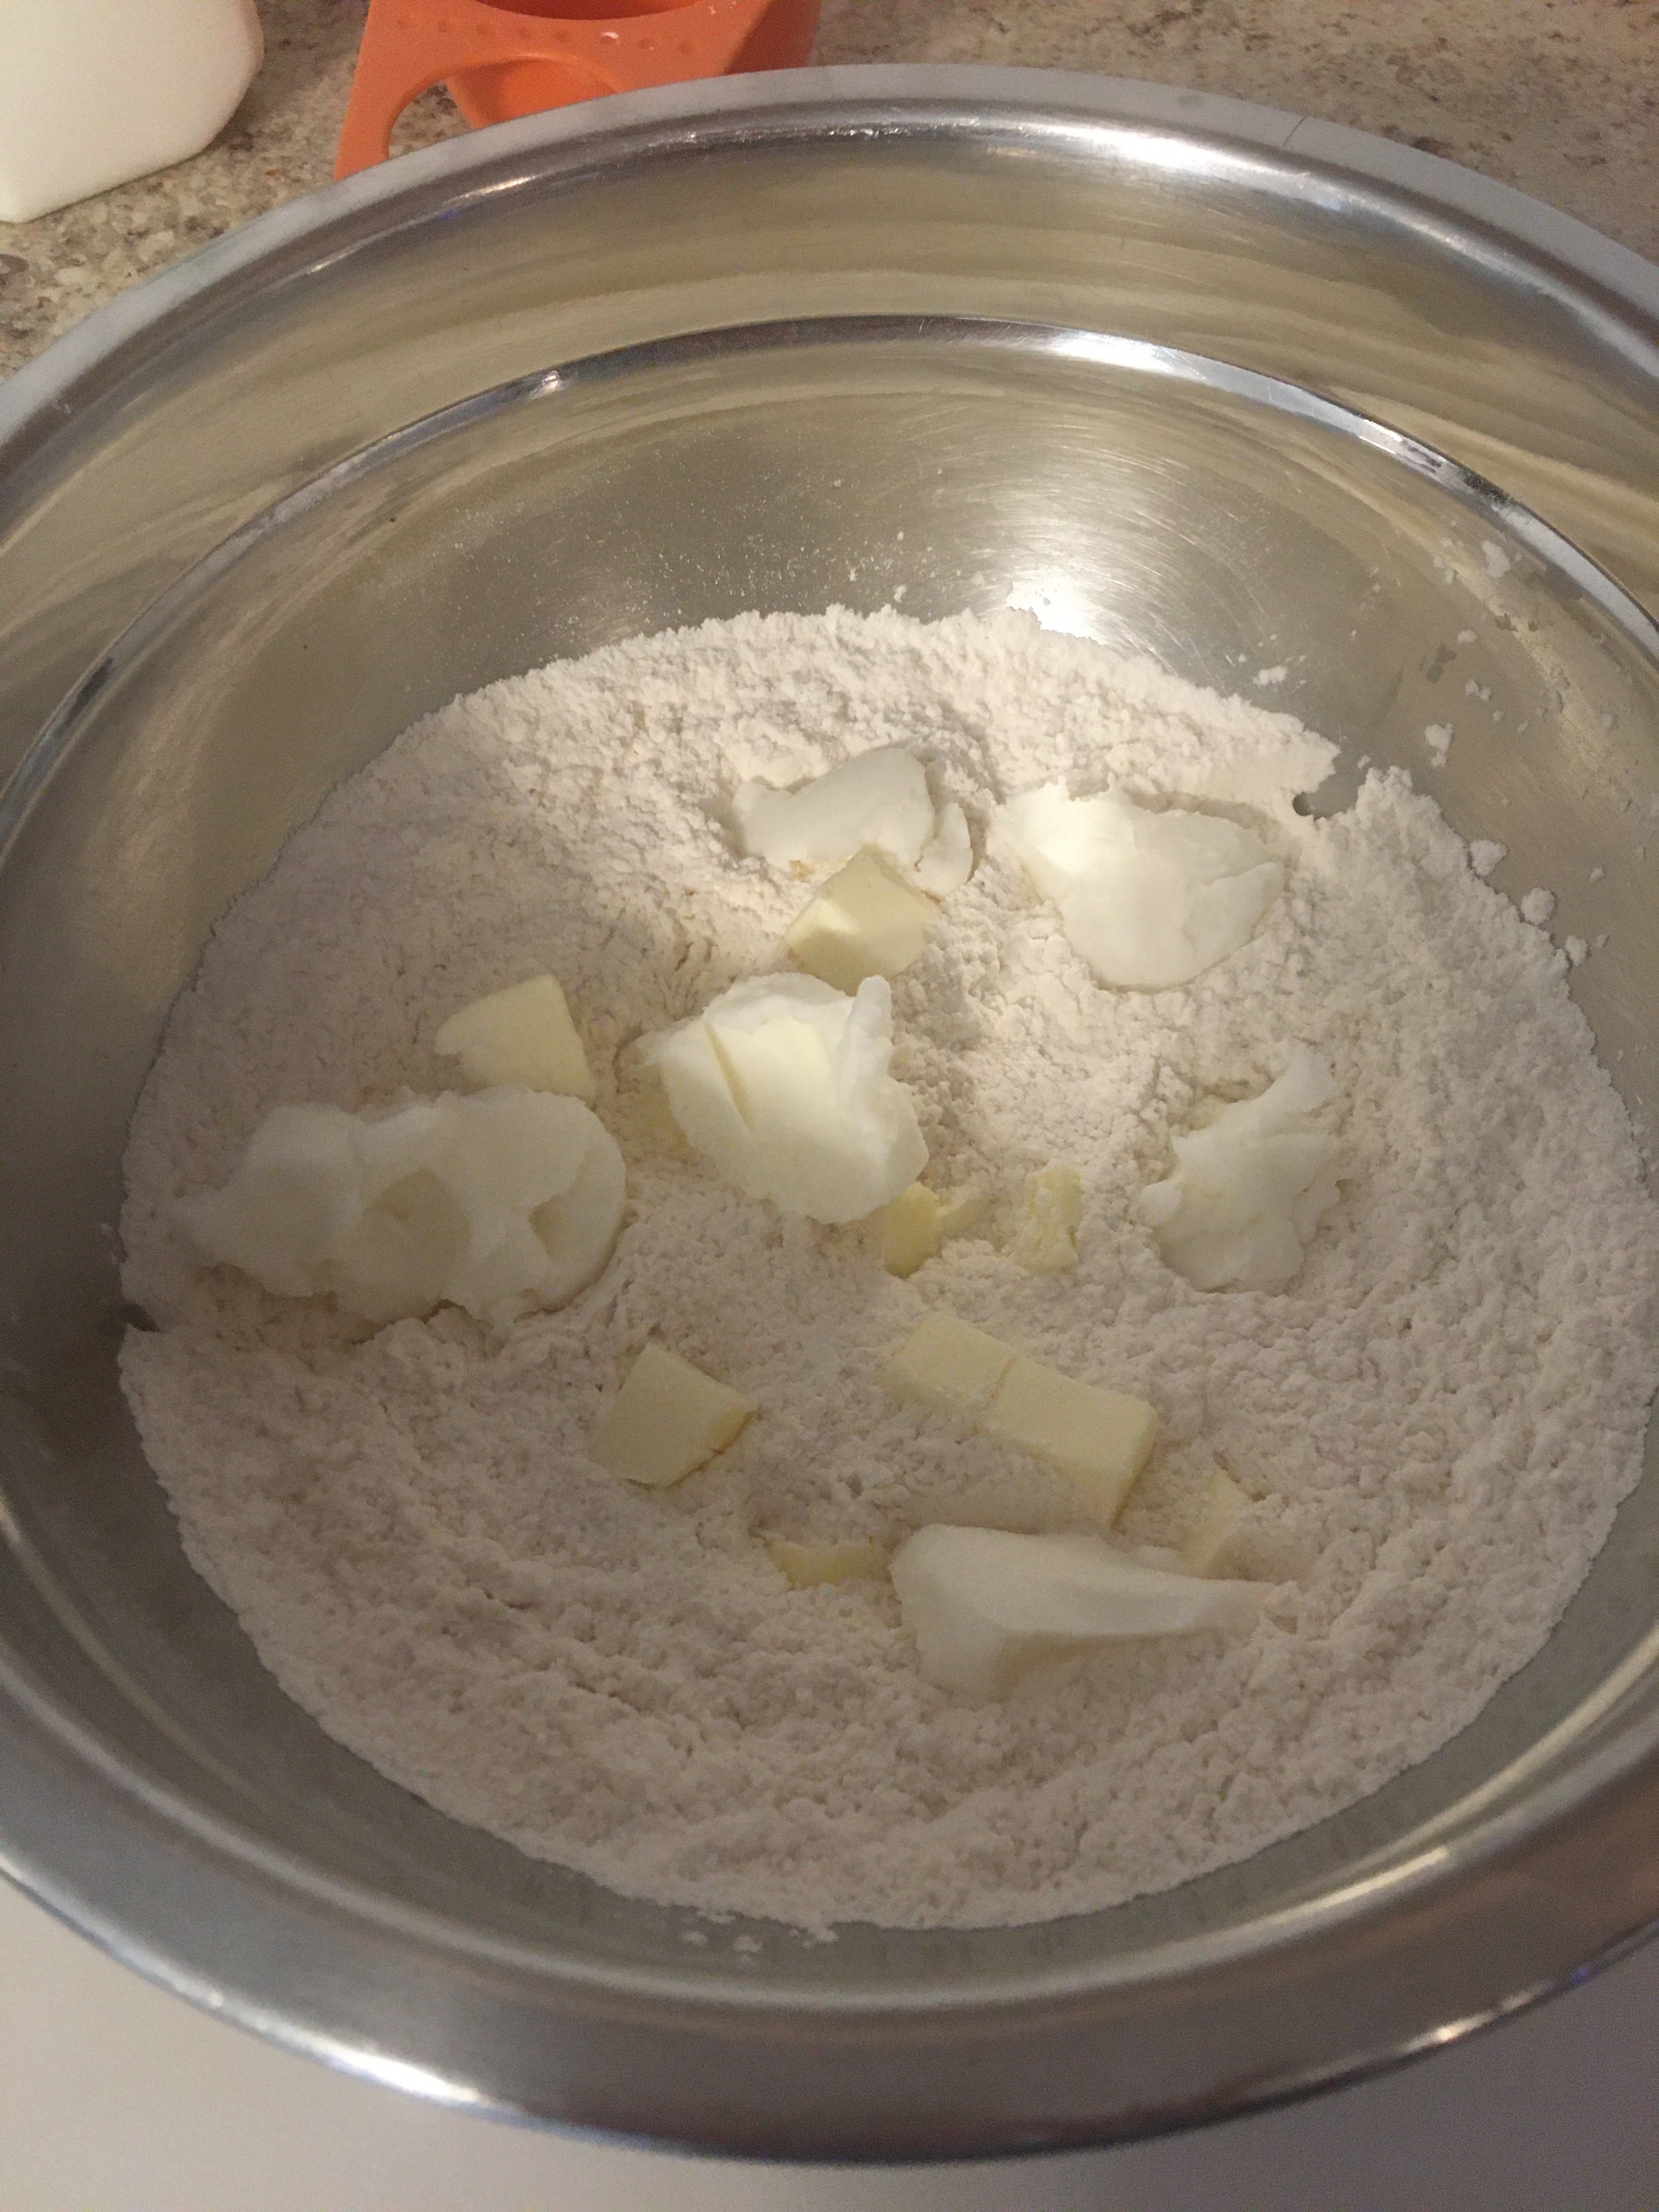
3) Mix your dry ingredients in a bowl.

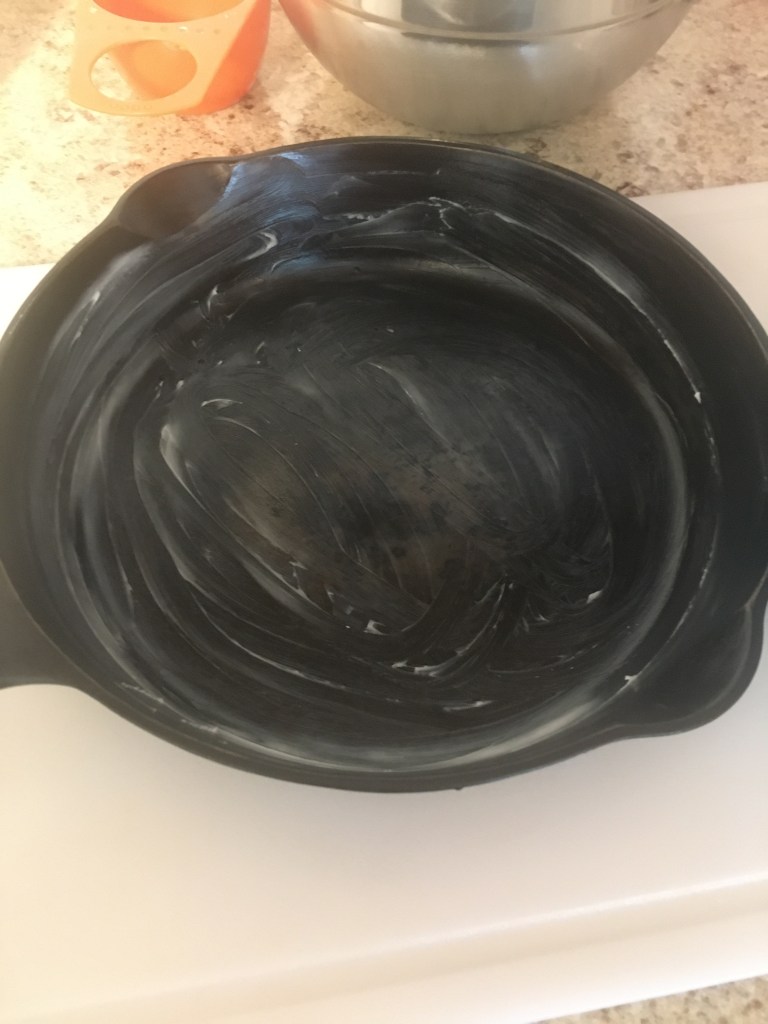
4) Grease your cast iron with crisco. If you don’t have a cast iron skillet you can use a sheet tray with parchment paper.

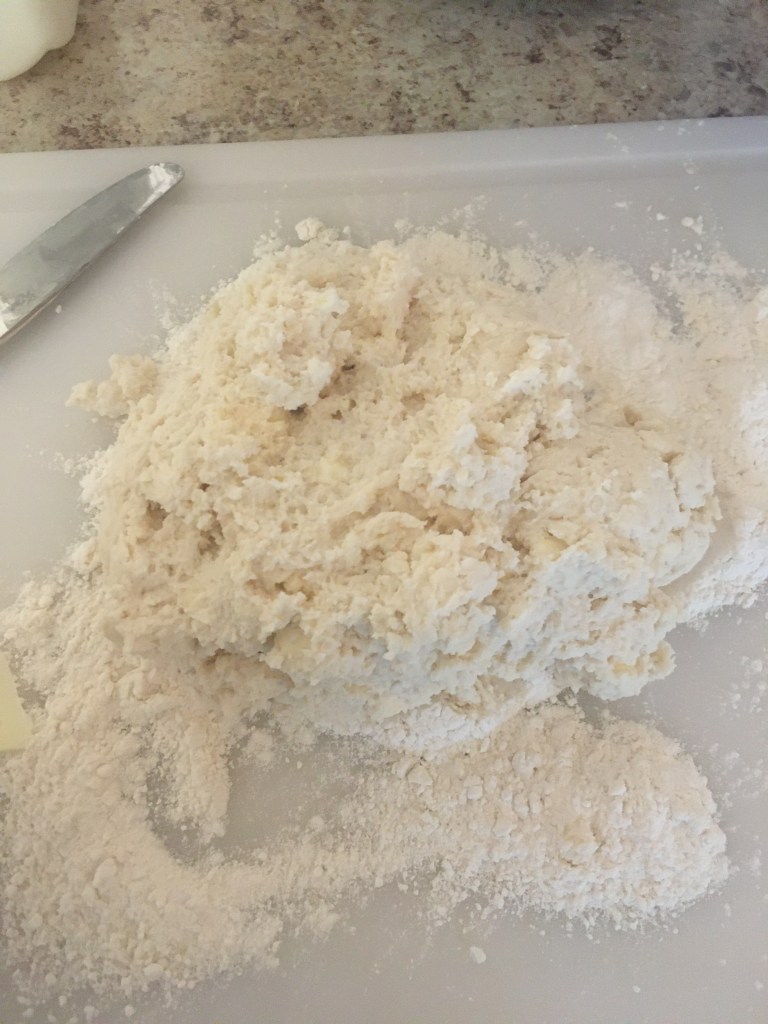
5) Add butter and crisco to your dry ingredients and work with your hands until the fat is about pea sized (much like making pie crust). Do not over work.

6) Add buttermilk and mix just until ingredients come together.

7) Turn out onto a floured surface and form into a disk about 1 inch thick.

8) Make sure you flour your biscuit cutter as well before you begin to cut out your biscuits. When you’ve used all the dough, form the dough again and repeat until all the dough is used.

9) Brush the tops with mayo…trust me…it’ll be ok. In fact, it’ll be better than ok!

10) Bake at 365 degrees for about 20 minutes or until golden brown.

Have fun and enjoy!

Let’s Have An Honest Conversation…

About Cloud Bread.

I know that cloud bread is taking the internet by storm right now and a lot of you really want to try it. I’m here to help with that but I’m also here to be real with you so here I go….

1) It’s really easy to make!

2) It’s not, in fact bread so take that out of your brain now.

3) It is sweeter than you might expect.

4) If you don’t like eggs turn back NOW!!!

Cloud bread is made from 3 main ingredients: egg whites, cornstarch, and sugar. It felt very much like soufflé adventure if we’re speaking frankly, which we are! In my head I was expecting something that was firmer, not sweet, and somehow tasted like bread. What I got was a sweet, quickly deflating, firm(ish) egg concoction. I thought I would be slathering on our Homemade Rainbow Butter but alas, it was not that type of thing.

I based the recipe I used off of what I saw from various other recipes. Temps varied as well and I settled on 300 degrees. I also baked longer than many. I baked for 20 minutes while others were 15. I honestly wish I pushed it to 25 minutes. Something to try in the future.

Long story short, did I love it? No. Would I try it again? Yes. The thing is, you really need to switch your brain from thinking it’ll be just like bread. It won’t. If you can get over this fact, you might just enjoy it.

Cloud Bread

3 egg whites

1 tbsp cornstarch

2 1/2 tbsp sugar

*optional food coloring

Directions

1) Line a sheet tray with parchment

2) Preheat oven to 300 degrees

3) Whip egg whites and food coloring of choice

4) Once soft peaks form, add cornstarch and sugar

5) Beat until stiff peaks form when you lift the beater up

6) Turn out on tray and using a spatula, form into a dome shape.

7) Bake at 300 degrees for 20-25 minutes until golden brown

*Tip: room temp egg whites whip faster

If you give it a try, leave your comments with your honest experience! Have fun and enjoy!

Growing Love-Our Garden Themed Week

But, killing plants….

When kids are out of school and all us parents are going crazy, I have found that having some sort of themed activity (here I go again) helps pass the time. I’ve done everything from space to farm animals. For this post, I’m focusing on gardens.

Pre-Covid (I.e. not this summer), I had a clear routine. On Monday we did the calendar and talked about the theme and did a craft. Our area always has (had) free summer movies for kids and cheap drinks and popcorn and that was our Tuesday and a craft. Wednesday, usually spent at the beach, Thursday, edible craft, and Friday is for a field trip (pre-Covid). Now, I am not perfect so sometimes this changed and frankly sometimes it didn’t happen. But, I try.

Ok, now that I’ve explained that, I’m focusing on our garden week. I did one craft and two edible crafts for our gardening week. The first craft was a flower sun-catcher. I used two paper plates (cut the center out, you will only need the outside ring), plastic wrap and flowers that we found outside while we were playing. Flowers go in between the plastic wrap and then the two paper plates are glued together around it. I also let them decorate it.

The next thing we did was an edible garden bed. For this we used chocolate wafer cookies, royal icing to glue the bed together, pudding, crushed Oreos, and sour patch fruit candy. Everyone thought it was really tasty.

Garden Bed

The last craft we did was similar, we made a garden patch. We baked a cake, used the rest of the pudding as the next layer, crushed Oreo dirt, icing for greens, the rest of the sour candy (I might have nibbled) and gummy worms. We were all happy with this too! I got too artsy and tried to write, “garden week” in pink…ummm let’s not talk anymore about that.

Our field trip was Brookgreen Gardens. If you’ve never been, you NEED to go. It is Heaven on Earth and we go a lot. Here’s some INFO and a short tour from one of our visits. It was the perfect ending to a great week.

Do you create theme weeks for your kids? It really is fun. Enjoy!

“P” Is For Pancake

“P” is also for panic, patience, poop…AKA parenting!

I’ve slowly been working P up to doing some real cooking…things that even some adults can’t do. Pancakes! Scratch pancakes to be exact. She did every step…from cracking the egg to flipping pancakes for the first time. Very proud mom here! Pardon me while I go cry in the corner over my little grownup.

Pancakes from scratch are, in my honest opinion, very easy to put together. My tips for really good pancakes are adding vanilla, always using buttermilk, and adding melted butter at the end of your mixing. I’m telling you…you will always make them from scratch after this. Even my dad (who is king of cooking) asked for this recipe!

I have to say that this recipe would be perfect to top with our HOMEMADE BUTTER and you can use the extra liquid as the buttermilk. No waste! Enjoy!

Buttermilk Pancakes

1 cup flour

1 teaspoon baking powder

1/2 teaspoon baking soda

1 tbsp sugar

1 cup buttermilk

1 teaspoon vanilla extract

1 egg

3 tbsp melted butter y’all!

Directions:

1) Mix the dry ingredients in a bowl.

2) Add the wet ingredients (except butter…add the butter very last) and mix until just combined.

3) Add melted butter until combine.

4) Use a griddle or non stick pan at medium low heat. I like a griddle for time saving reasons. You know you’re ready to cool if you flick cold water on the griddle and it sizzles.

5) Pour a 1/2 ladle of mix in the griddle (for smaller pancakes) and LEAVE IT BE until you see bubbles forming AND popping and the edges look waxy.

6) Flip and let it be for about a minute.

DONE! How easy is that?!

We got it down on the third attempt! Go P!

*If you like a pancake like the ones I have in the picture add about a 1/4 cup more of buttermilk. Personal preference here folks.

*If you’re buying buttermilk do it on a week where you plan to make ranch dressing, biscuits, or a cake so it doesn’t go to waste. I will say it lasts a good while.

Disney Dinner- The Jungle Book

Look for the….

Anyone else love a themed dinner? No, just me?! Well, I love doing fun themes for Lulu and P. Especially during a pandemic it’s fun to have something to look forward too. We are definitely a Disney house (my husband deals with it unless it’s Star Wars…then he’s all in) so we went with, “The Jungle Book” for a fun Disney theme.

We started our night listening to the soundtrack while making lion masks. Remember in a previous post when I said, “be kind to yourself”? This was one of those times. The masks were really cute but in my head the girls would be marching around during the movie with their masks on. They didn’t dry til the bedtime. Maybe do this earlier in the day or use markers!

Supplies, I used a set for each girl…no fighting!
Lulu painted the table…
Finished mask from the 1 year old
Finished mask from the 6 year old

While the girls were painting with the help of my reluctant hubby, I got to work on the food. Ahhhh glorious food! Here’s our menu:

Tropical Fruit Salad-I used mangoes, kiwi, banana and a squeeze of lime.

Baloo Blue Drinks- Blue Curaçao Syrup, V8 Smoothie (the one that mimics a pina colada) and a cherry. I blended the blue curaçao syrup with ice first then repeated the same process with the V8 smoothie. Pour the V8 in very slowly over the blue mixture and you’ll do just fine!

Snakes in the Grass Sandwiches- I used Hawaiian rolls, cheese, ham, and chicken. You can make these however your family likes really. Peanut butter and jelly, BLTs, grilled cheese…the possibilities are endless. I used pickles for the grass. Lulu loves pickles. I used a jarred red pepper slice for the tongue and olives for the eyes.

Tiger Tots- I mean, pretty obvious here but they are tater tots with ketchup. I know…I know….genius. HA!

Monkey Bread- I’ll post a recipe for my monkey bread in a separate post in the near future. It’s easier than you could ever dream.

The girls without fail get so excited for these planned family nights especially P. Lulu gets excited that I just lay out all the food. Girl likes to eat and I love her for it! The drinks were their favorite part and each of the girls sucked them down! I can’t imagine why. They both really liked the movie especially the music.

Am I a little extra about planning activities? Definitely! Is it worth it to me? Absolutely! It doesn’t need to be a big to-do. Do whatever fits best for your family but do give yourselves something to look forward to as a family! The memories will be something you will cherish for years to come. Enjoy!

Lulu’s reaction to the movie starting❤️

Rainbow Butter- From Scratch

Everything’s better with butter y’all….

Homemade Rainbow Butter

I am a firm believer that if a child helps you make food they will want to eat it more. Anyone else? I try to get P involved with cooking on a regular basis and she really loves it. We’re at the point that she can make homemade ranch 99% on her own including tasting and adding seasoning to taste. I say 99% because she will absolutely NOT touch mayo (insert my weekly eye roll).

For this cooking adventure we made homemade butter but I couldn’t stop there…we had to make it pretty. Naturally, that means a little girl will want to make it a rainbow. I mean, I wanted to make it rainbow as well because I like pretty things too! Here’s the really nice part about butter…YOU DON’T HAVE TO MEASURE ANYTHING! You heard it here! It’s the easiest recipe ever.

All you need is heavy cream, salt, and food coloring. We use a mixer to make ours but you can also shake the heck out of it in a mason jar. I’m lazy so I opt for the mixer. If you’re more into how to videos you can watch us make it HERE.

Here’s what we used, plus salt

You may notice I used the whisk attachment…my dad (who is ridiculously smart) said a paddle attachment would be more authentic and possibly separate the buttermilk (left over liquid) from the butter. Your choice, folks. Alright, so here we go.

Ingredients:

Heavy Cream (I used approx. 4 cups)

Salt

Gel Food Coloring

Directions:

1) Pour in heavy cream…I used about a cup per color.

2) Start whisking on high.

3) Add a pinch of salt to taste and food coloring to your level of liking. I recommend using gel food coloring for a more vibrant color.

4) Whisk like heck. It will turn into whipped cream. Don’t stop there…keep whisking until the liquid separates from the solid. It will look like a mess (that’s how you know you’re there).

5) Use a fine mesh strainer to separate. You can save the liquid to make pancakes or biscuits!

6) Use your hands to shape the butter while squeezing out any further liquid.

7) Rinse with cold water then set in a bowl or container.

8) Repeat above steps for however many colors you are using. We used red, blue, yellow, and green.

9) Lay out a piece of cling wrap and spread the butter into a rectangle. Add the other colors one at a time on top of each other. Fold the wrap closed tightly and put in the fridge. Once the wrap is closed you can further shape it. Again, you can WATCH HOW TO MAKE RAINBOW BUTTER HERE.

10) Enjoy your beautiful, colorful, delicious butter on whatever your heart desires!

Oh Em Geeeee

Here’s just a few tips. You can flavor your butter any way your heart desires. So, if you’re using it for pancakes, add some vanilla and sugar during the whipping process. Want it on a juicy steak? Add some garlic and fresh herbs. Flavored butter on biscuits? How about some apricot preserves mixed in?!?! I’m drooling!

You’re Hot Then You’re Cold

The never ending cycle of finding an activity for a baby and a child…

When my first born was around 6 months old I remember our pediatrician telling us to do, “an activity” every day with her in a Tony Soprano type voice. God, I seriously love our girls’ pediatrician office. I mean they are awesome. Ok, back on track, what the heck do they mean by an activity?! I was still learning the ropes and now I felt the need to come up with all these “activities”. Like it wasn’t enough that I read to my baby and she watched me do dishes?! I think that moment truly started my need to plan for my child(ren).

The wheels began to turn and I would come up with great sensory activities that were so easy like putting Pom poms in a jar. I mean, it really is that easy!

Our sweet Lulu loving pom poms

The problem that has turned up this time around is now I have a 1 year old and a 6 year old. That’s like, wayyyyy different. Again, my type A personality began obsessing over these grand ideas when I realized that the 6 year old really likes the same stuff….getting messy and having fun.

So, how do you, the parent not cry during these activities while you children destroy everything you work so hard on every day to keep sort of clean?! 1) Don’t freak out if it doesn’t go as planned. 2) Be nice to yourself. 3) Be ok with children making a mess. To help with this I like to have a vinyl table cloth that I put down on the floor. It’s great for things like painting, water play, or moon sand. I also like to have some kind of container or tray to put the activity in.

For this sensory adventure, I used two plastic bins, warm water in the large container, cold ice water with ice cubes in the small container. I used food coloring to make two colors that when stacked would make a third (yellow + red = orange). The last part is just common kitchen items like spoons, measuring cups, and any other fun objects you think your kids would enjoy.

The girls had an awesome time. It took up a good 30 minutes of play. It started off very nice but I will say it turned in to a water park so I am very glad I had something down. Towels are a great idea too! Eventually, my older one wanted to add some of her favorite dolls which was just fine with me since it helped keep the activity going.

One last piece of advice…play with your kids too. Enjoy!

It All Began With Isolation

March, March, March

When you’re trying to keep your cool as the world falls apart, your focus refocuses (is that a thing?). So, I went from wife, mama, teacher…the norm….to all those things plus life in quarantine. I was scared. Everything was changing. I had to refocus and find the silver lining. For me, it was being home with my babies.

Being a stay at home mom is something I can only dream of currently so the change of pace really sang to me (ps, I teach Chorus🤣). I decided to use my teaching super powers to plan activities. The first was a container garden.

All in all, it was successful but also planted too late in the year causing lots of shriveled dead things. Never mind that…

I can’t help but plan and my oldest is the same. This basically grew into Penny’s STEAM Lab. I love helping my little learner flourish and grow. She’s hungry for education. Dad only agreed because it was educational and a way to give other kids in quarantine a way to keep learning too! The thing is, I couldn’t stop there (you know, the planning problem I mentioned)…you see we all love to learn in our house. My personal specialty is baking and cooking, our toddler’s is sensory learning and getting in to things she shouldn’t, and my husband’s is anything book smart and manly (insert wifely eye roll).

So here we are, 6 months after the pandemic started, blogging about our learning and project adventures. Let the adventure begin…or continue.